Thursday, February 10, 2011

Fuel for Winter Camping

I’ve found out the hard way that when it gets cold, propane shrinks and doesn’t come out of the bottle very well.  Here’s what we’ve found:
  • Stove Fuel:

    • Propane will freeze if the temperature is below 30 or so.  It'll still come out of the bottle, but so slowly that it can't keep up with the heat loss of whatever you're heating.  Bottom line, you eat cold stew.

    • White Gas is somewhat of a bother with the pumping and everything, but I've used it in temperatures down to the single digits and haven't had a problem with it at all.

    • I haven't had the chance to try a butane or other type of stove, but I know my butane lighter doesn't work too well when it's really cold.

  • Propane Lantern uses so little gas that it seems to work fine even when the temperatures are in the single digits.  I haven't ever had the chance to try one out at lower temps then that though.

Food on Snow Cave Campouts

Foods are very important on snow cave campouts.  You need high calorie, even high fat foods to keep your metabolism going and keep you warm.  You’ll be using a lot of energy digging your cave, and unless you’re using this as a weight loss plan, you need to replenish the calories you burned or you’re going to freeze.  We’re typically up there for just Dinner and Breakfast so here’s what we typically do:

Dinner
  •  We typically just have the boys bring a can of stew each and dump it all into a big pot, or 2 pots to warm up over the stove.  We bring up rolls to go with it (even though the rolls are typically frozen by the time we eat them.)

  • Another idea is hot dogs.  One of our leaders brings up 2 packs of hot dogs and a hot dog stick.  Then he cooks it over the fire for a quick, warm meal.


Breakfast
  • In the past we’ve just done instant oatmeal for breakfast.  It’s easy, just warm up the water and then it’s self serve.  It’s lightweight so it’s easy to bring along on the trip.

  • We tried something new last time for breakfast.  Everyone made their own omelets beforehand and we cooked them in boiling water in a ziplock bag.  It worked great because everyone got to put whatever they wanted in their omelet, and it was easy cooking and easy cleanup!  Just make sure you get as much of the air out as possible before you drop it in the boiling water.  It was really good and most decided they wanted to do that next time.
Lunch
  •          We typically aren’t up there for lunch, but when we have been we’ve done munchies and stuff, sometimes a sandwich.  One time someone brought up a big summer sausage that we sliced off hunks and gnawed on.  That was good!

Munchies
  •          You can almost never have too many candy bars.  I like snickers, or nut rolls, or Peanut Butter Cups because they give some quick energy and some protein to keep you going.  I typically bring up 4-6 candy bars of some type – more if I think I’ll need to share with a boy who may not be prepared.

ZIPLOCK OMELETS:
Items Needed:
                2-6 eggs (depending on how hungry you will be)
                Salt
                Milk
                As much as you want of:
                                Cheese
                                Tomatoes
                                Onions
                                Peppers
                                Salsa
                                Brown-n-Serve Sausages
                                Diced Ham, etc.
Crack the eggs into a bowl, mix them up good and add salt (if desired), and milk.  Mix well, then add any other ingredients from the list above diced up if needed.  Pour into a ziplock (or other brand, just make sure it seals) quart size baggie with your name written on it in permanent marker.  Double bag if you desire (so it doesn’t break open in your pack).  Keep it refrigerated until just before we leave.  Then keep in your pack, it will stay cold enough there.

We’ll boil some water and put the baggies with the raw egg mixture into the boiling pot to cook your omelet.  When it’s done you can eat it out of the baggie for a low cleanup meal that’s still filling and good!


BACK

Digging the Snow Cave

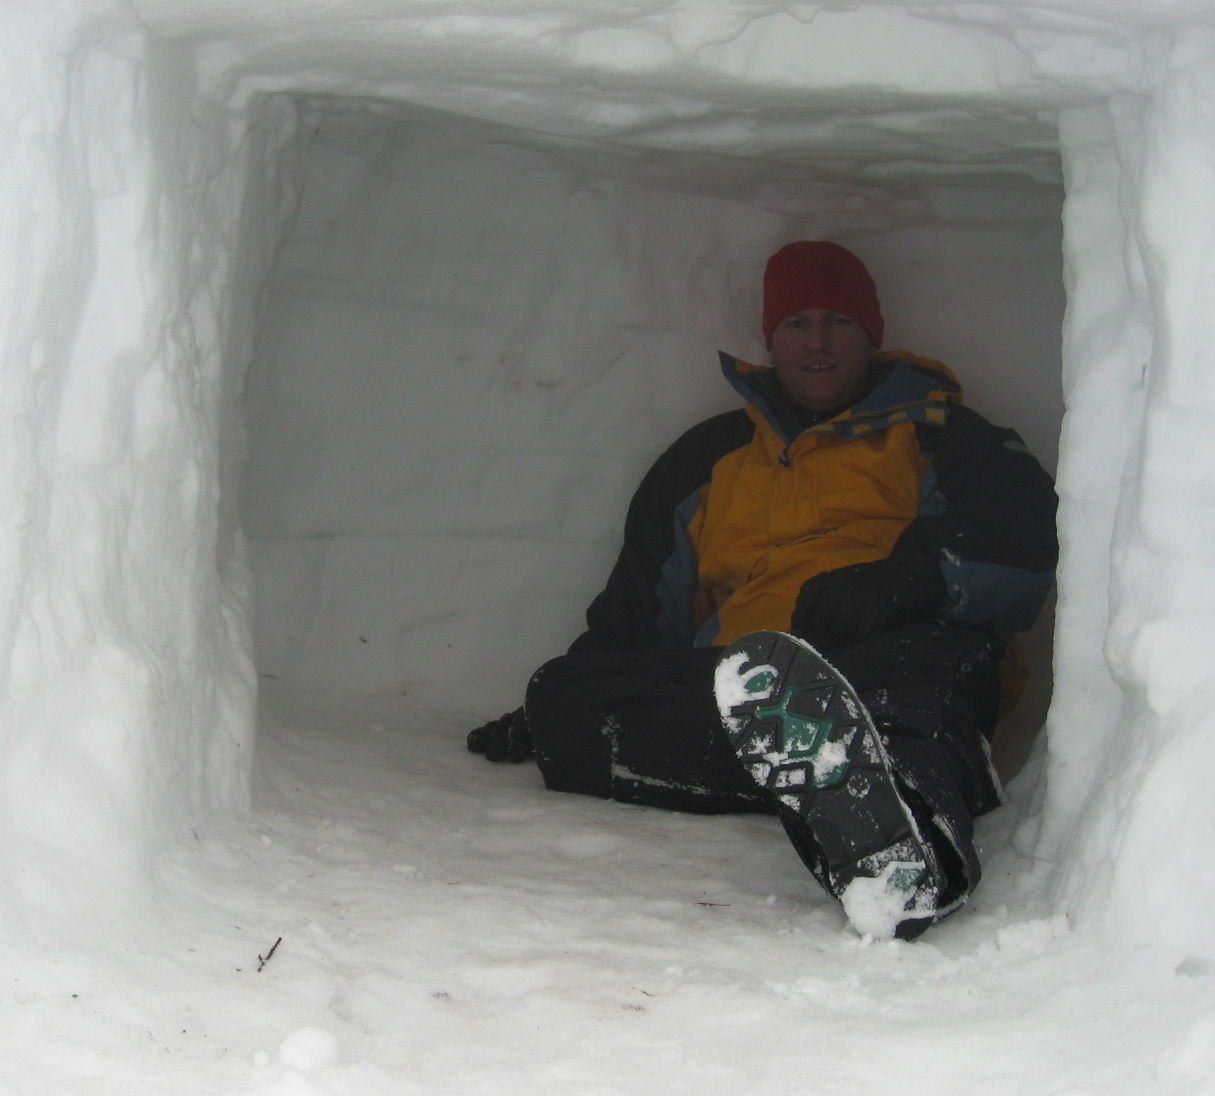
Dig a cave with a small opening that's lower than the inside of the cave so you can keep the heat you generate inside your cave.  We typically dig an opening that's 18" square approximately that goes in for about 18 inches before opening up to the room of the cave.  If you dig uphill, then the heat you generate in the cave will stay up in your cave.  If you dig downhill, the heat you generate will raise up and out of the opening, leaving you cold.

Make the snowcave tall enough to sit up in and you'll be more comfortable, but if you don't have much to keep you warm for the night, the smaller the better to stay warm
  • Dig down to the ground, but then leave a thin layer of snow on top of the dirt so it's not muddy inside.

  • Head Lamps are very nice when digging at night.  It's dark in the cave and you need both hands to dig with.

  • If you are digging when it is light outside, stop every so often and block the opening for a minute to darken the cave so you can see if there are any light spots in your ceiling.  If so, be careful in that area.

  • If it’s dark, take a thin, long stick and have someone stick it through from the outside.  Then when the inside person pushes it back to the cave wall, you can tell how thick the wall/roof is.  Thickness required totally depends on the snow, but a good thickness is typically 18 inches or more.

  • It’s nice to be able to sit up in your cave for changing purposes, but I’ve been in a cave that was less than 18” tall before too when that was the best we could do with the snow we had.
Simple snow cave sketch.  Make the entrance lower than where you sleep and you'll stay warmer

When the snow isn't deep enough or packed down enough, you may have to dig a trench and put a tarp over it.  The boys that slept in here stayed plenty warm